
WooCommerce
Paymob for WooCommerce plugin
WordPress Directory
You can find the Paymob official WooCommerce Plugin in the WordPress Directory page.
Installation Steps:
• Login into admin panel of your WordPress store. From the side bar menu → Select Plugins → Add New.
• In the search field, type the word "Paymob ", and the Paymob for WooCommerce plugin will be listed in the search result.
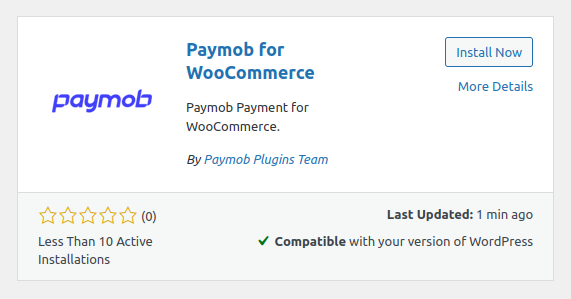
• Click on the Install Now button. Then, click on the Activate button.
• In Plugin list you will find Paymob for WooCommerce plugin.

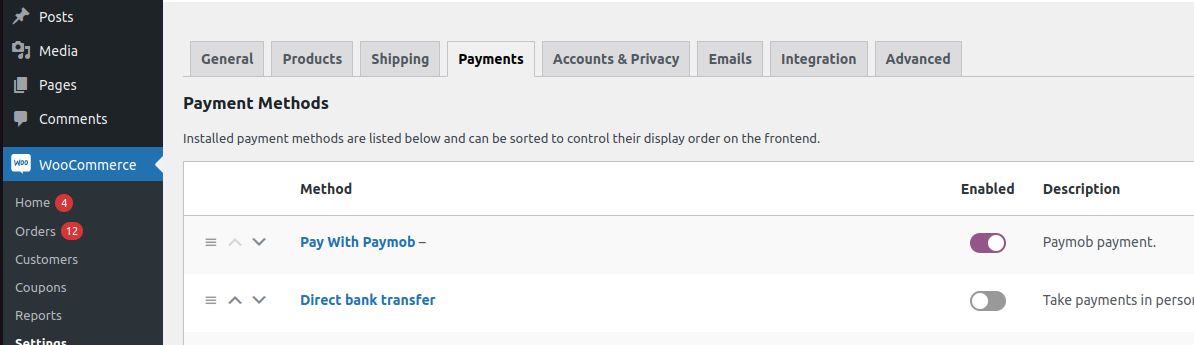
• Click on Paymob settings. OR, from WooCommerce = → Settings in the left menu, under the Payment tab, find Paymob Payment and click on Manage.
Merchant configuration
• Log into Paymob account = → Setting in the left menu. Then get the Secret, public ,and API keys.
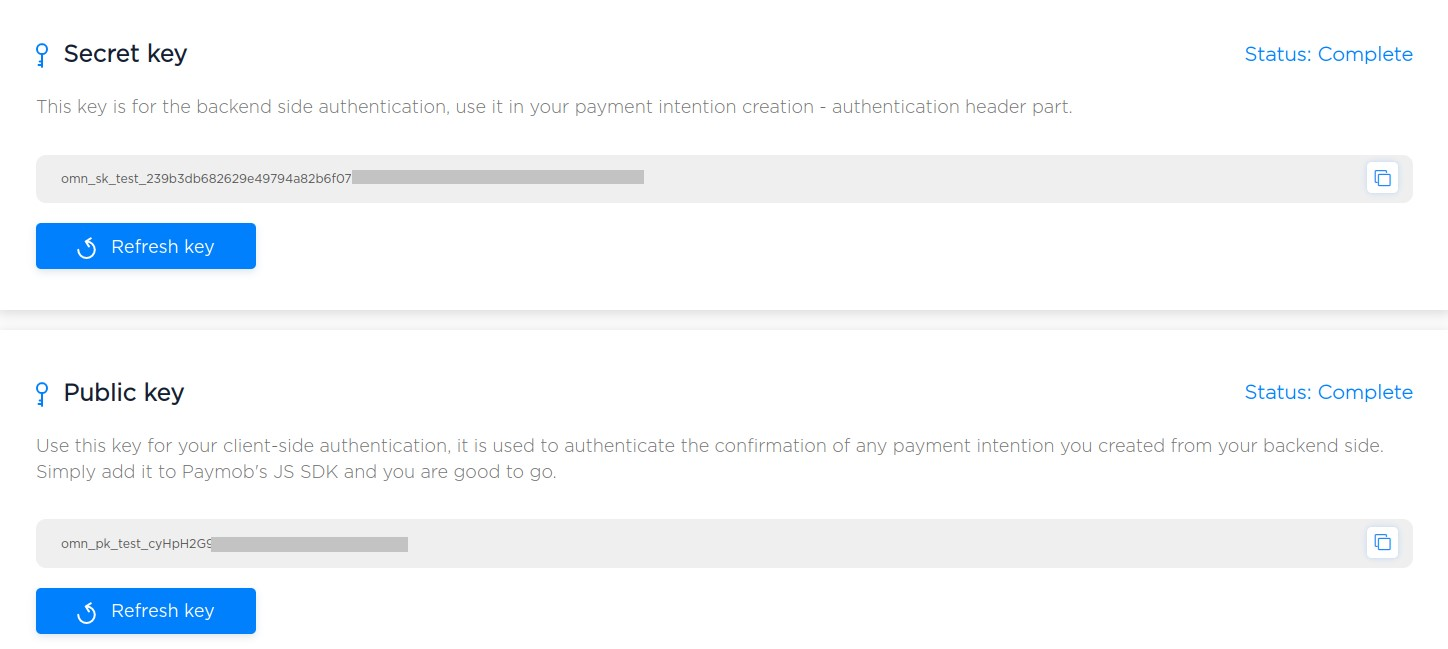
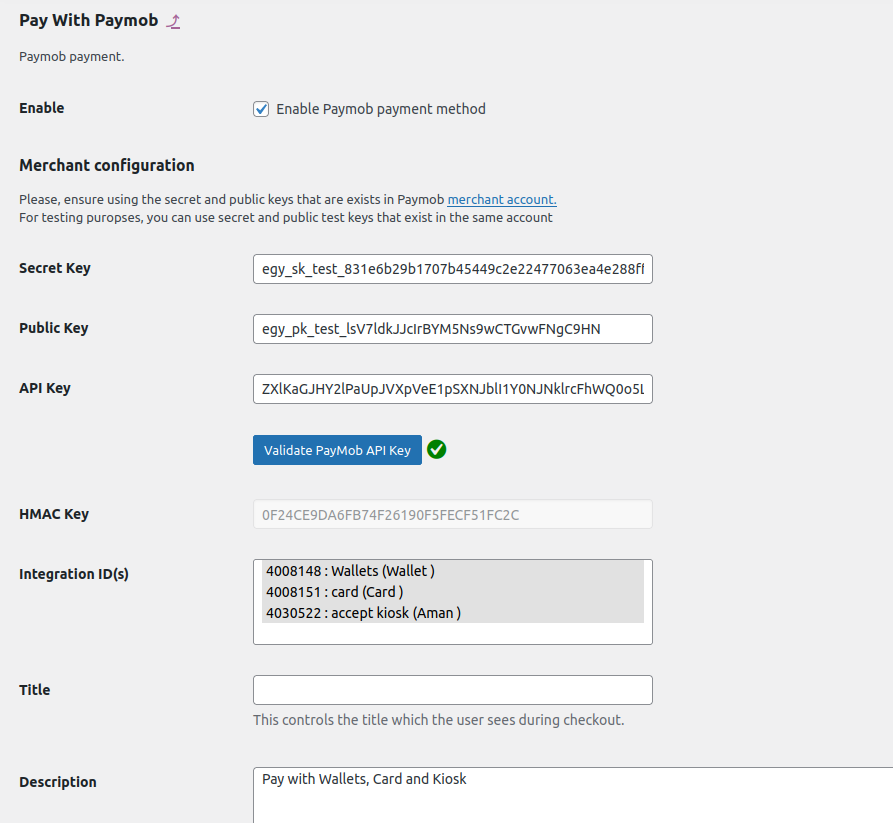
• Paste each key in its place in the Paymob WooCommerce setting page.
• Then, click on Validate PayMob API key button to ensure the data prvided keys are valid and returns the needed information. (Important)
• The HMAC key will be shown in its field and the existing Paymob integration IDs as well. In case any of the provided data is not correct, the validation will fail.
• Please ensure to select the integration IDs that you need end-user pay with/sees in Paymob payment page. (Important)
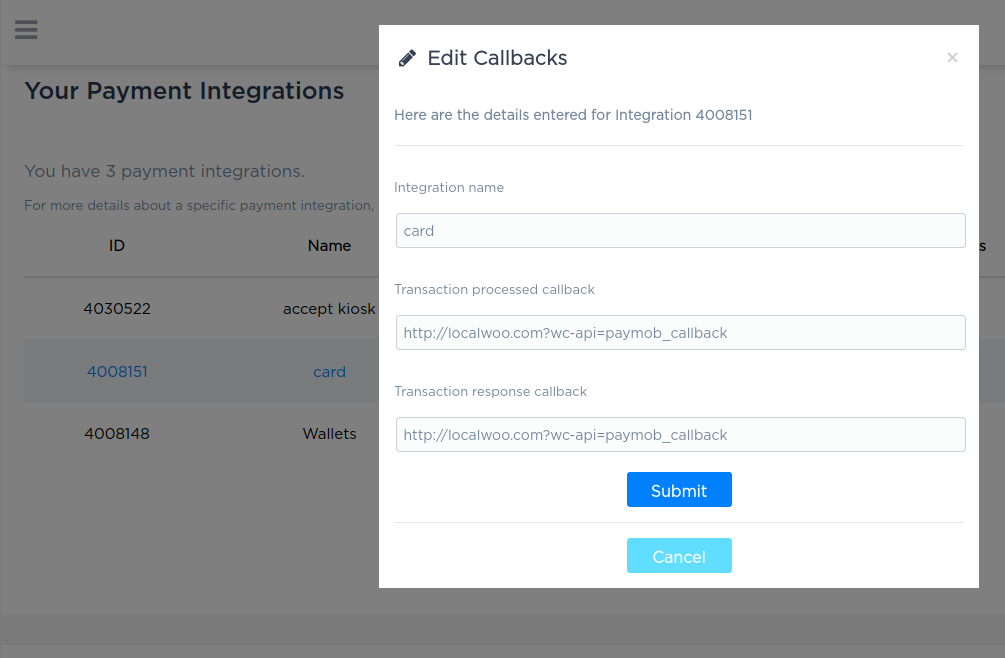
• Copy integration callback URL that exists in Paymob WooCommerce setting page. Then, paste it into each payment integration in Paymob account

• In the setting page, you can also the paymob payment method logo, title, and description that end-user will see in WooCommerce checkout page.
• Then, click on save changes.
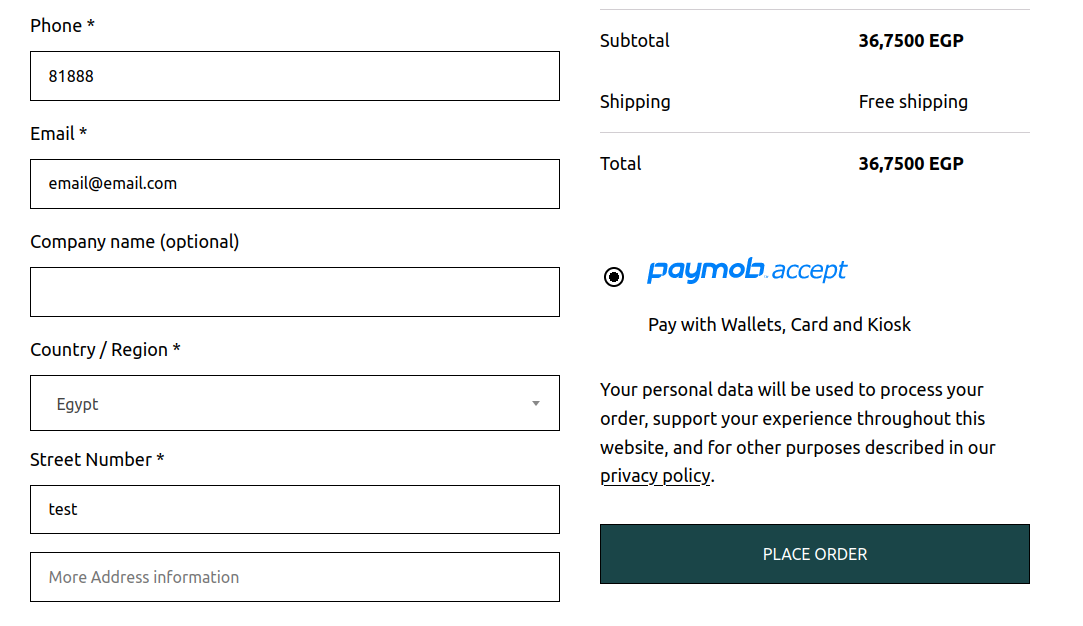
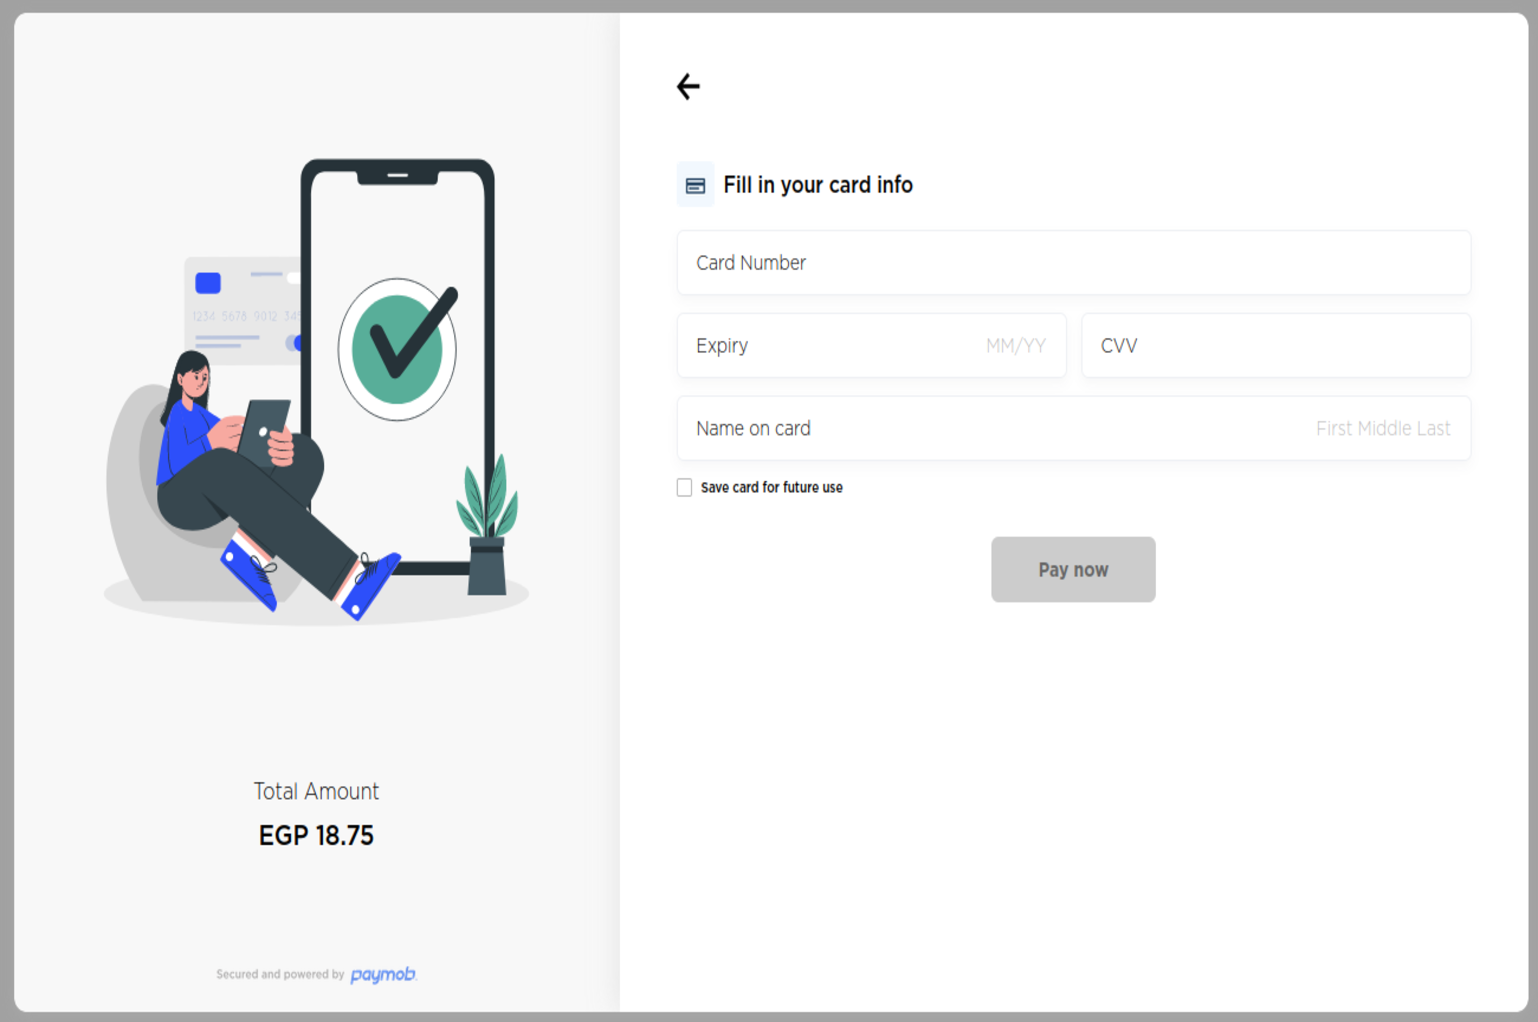
Checkout page
Paymob payment method will be shown for the end-user to start his payment process.
Updated 8 months ago