
WHMCS 8
Guide for installing Accept's WHMCS plugin for WordPress supporting our card payment method.
WHMCS plugin that opens the iframe inside your website invoice page from here.
Installation:
1- Upload the below files to your WHMCS “modules/gateways” folder.
-
“modules/gateways/paymobonline.php”
-
“modules/gateways/paymob”
-
“modules/gateways/callback/paymobonline.php”
-
“modules/gateways/callback/paymobonline_response.php”
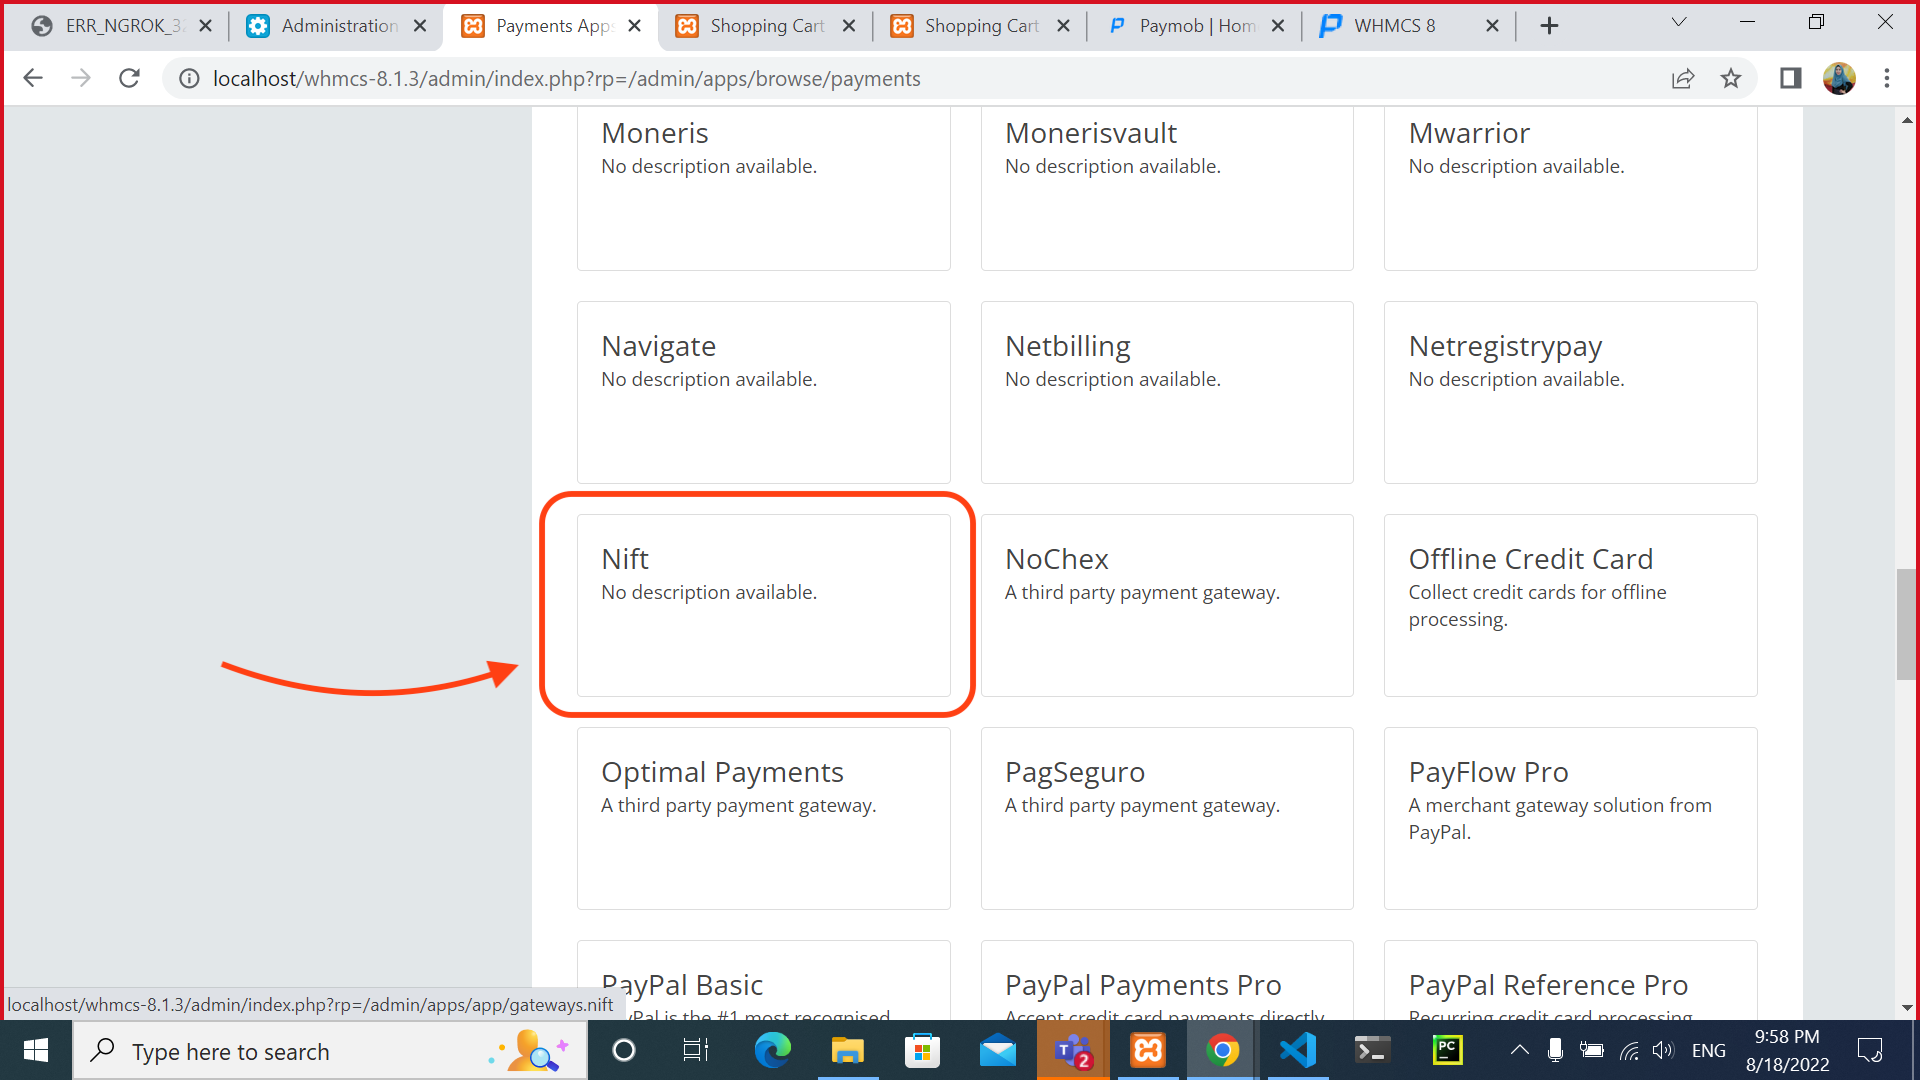
2.1- To go to the payment gateway, navigate to your admin dashboard->addons.

2.2 Then go to Browse->Payments.

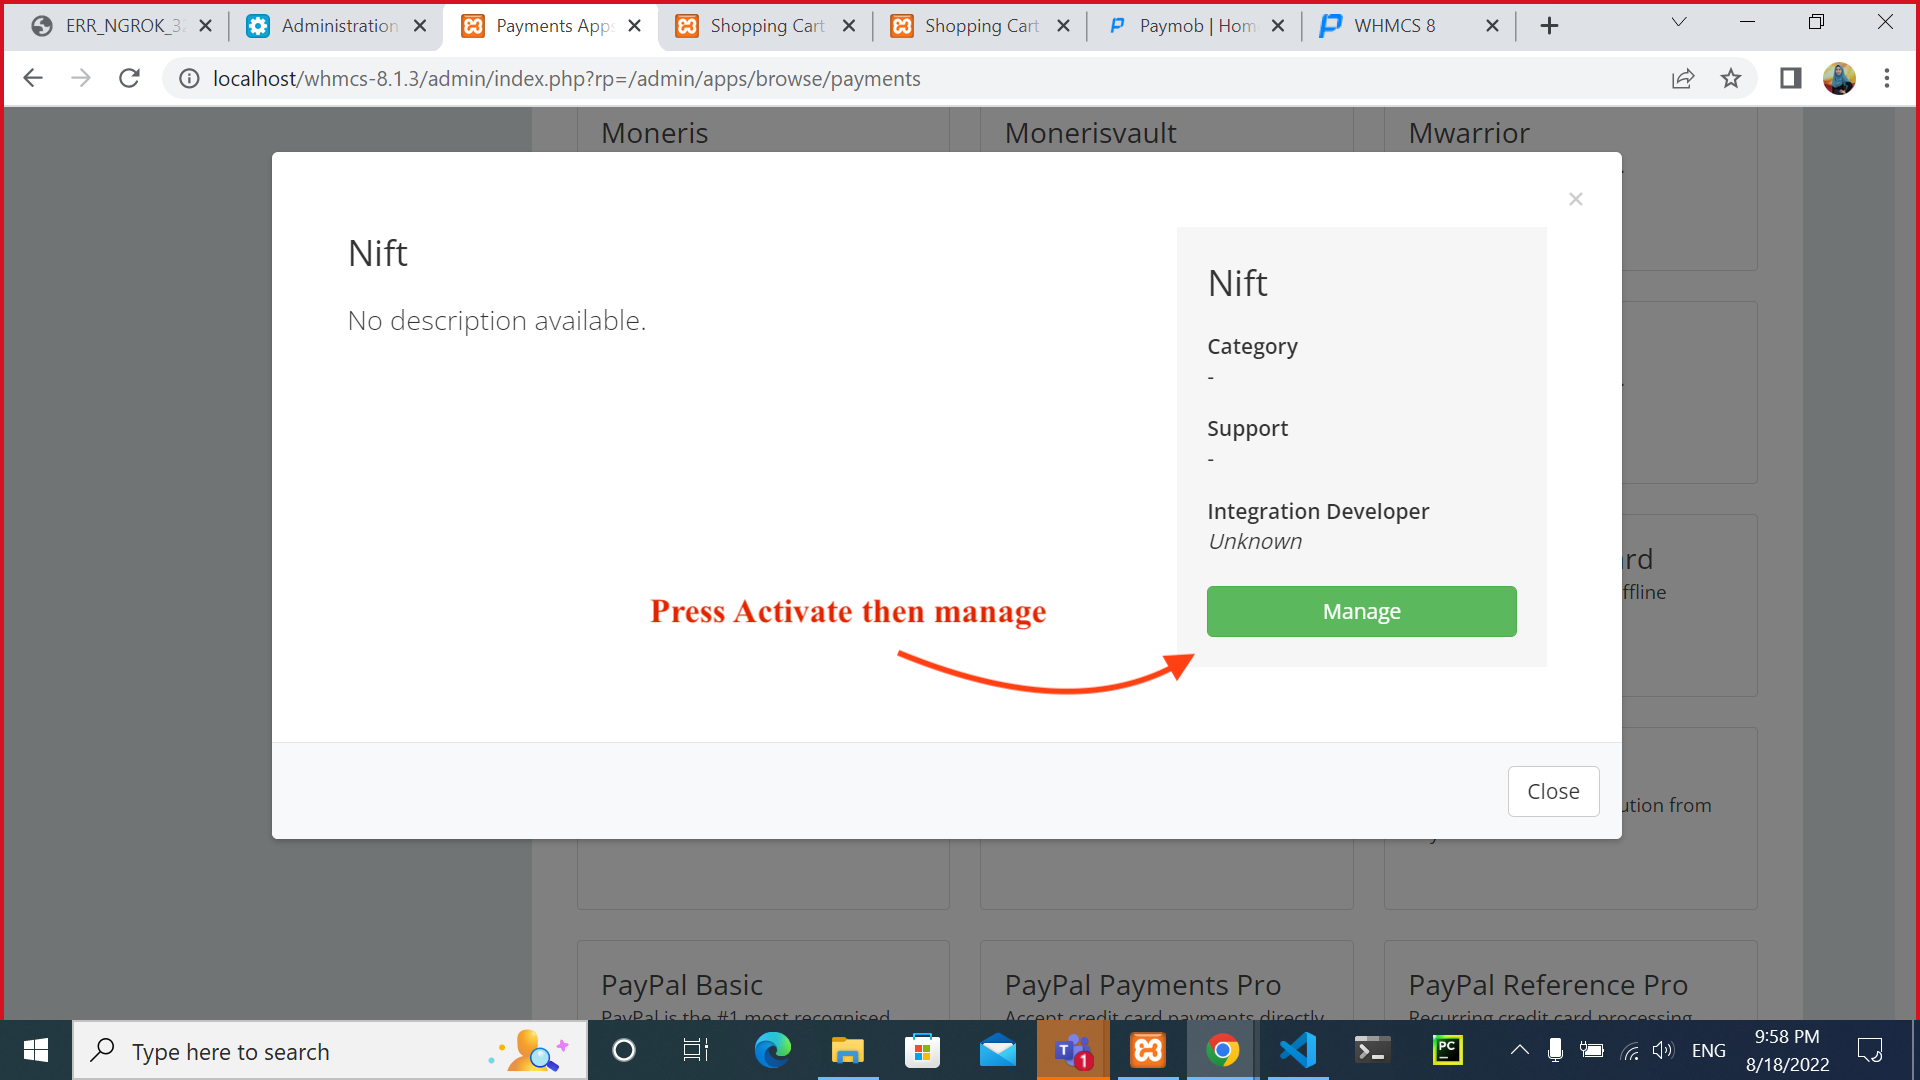
2.3 Then click on the Nift method to configure it.
2.4 Then click on Activate to add the payment method.
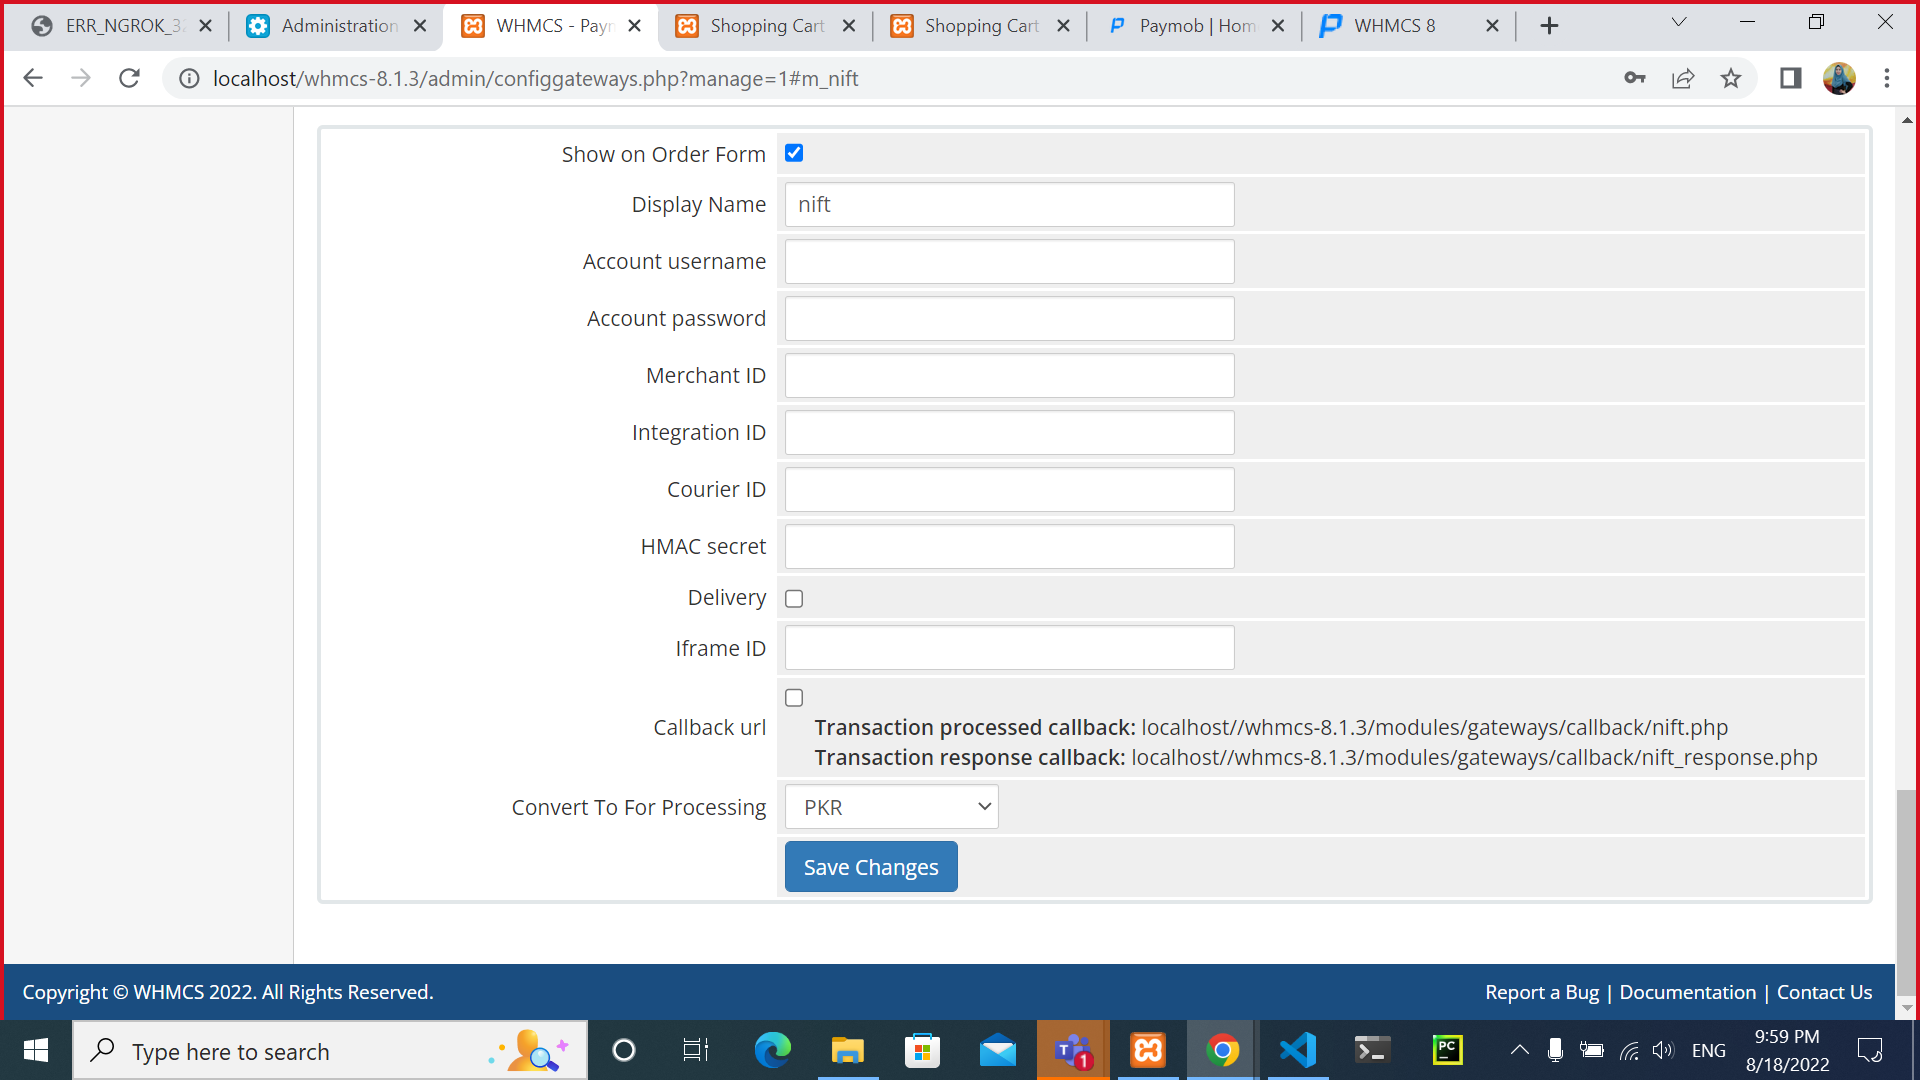
3- Fill the below payment gateways fields as described below. You can neglect the "Courier ID" & "Delivery".
-
Show on Order Form: To enable the payment method on your checkout form.
-
Display Name: The name of our payment method is displayed on your checkout form.
-
Account username: Your Paymob username.
-
Account password: Your Paymob password.
-
Merchant ID: Your Paymob merchant ID.
-
Integration ID: Your card integration ID in your Accept dashboard/Developers/payment integrations tab.
-
HMAC Secret: you can find it in your Accept dashboard*, profile tab.
-
Iframe ID: Your card iframe ID in your Accept dashboard/Developers/Iframes tab.
-
Callback URL: The callback URLs responsible for updating you with the payment statuses for your server & client-side.
-
Convert to for processing: The currency of the payments. Should be "PKR" to match our payment flow.
4- Set the callback URLs in your Paymob Dashboard account: open the dashboard → developers section → payment integrations tab → then choose the integration ID you used → click the Edit button then paste the callbacks from the WHMCS module.

Updated over 1 year ago
You can use the following link to access the test credentials for the supported methods: